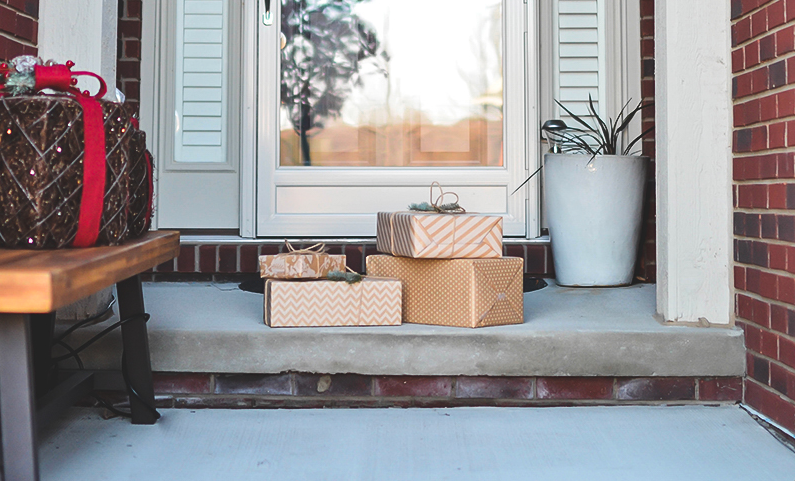
Holiday Wrapping Tips
We spend a lot of time running around getting the perfect presents for our family members so why not take the time to make them look pretty which will add to your holiday décor! Now we know what some of you may be thinking, that you aren’t creative or even good at wrapping but we promise you with our simple tips under your tree will be looking like a Martha Stewart catalog in no time!
Create a Workspace
simple step will make a huge difference in your gift-wrapping productivity. The space doesn’t have to be a whole room or even have a table. It could be the corner of your bedroom or a makeshift space set up in your basement but by having a place where all your wrapping, bows and materials are will make it easier and a lot more fun to get the job done. Hey, it may even help spark some creativity!
Have the Right Tools
Nothing is more frustrating than trying to cut wrapping paper with dull scissors or have tape that just won’t rip right, so having the right tools is essential to not only making your presents look clean and professional but it will make your life a whole lot easier. No need to go crazy all you need is a ruler, two pair of scissors (one for paper one for ribbon), and two kinds of tape (double sided for bows and matte finish for packages).
Don’t Skimp on the Paper Quality
A wrapping nightmare can easily ensue if you have the wrong kind of paper. Too thin will tear easily allowing the corner of packages to poke through, too thick will make your packages look bulky and use up a lot of tape. The sweet spot is getting a medium grade paper with a bit of metallic finish. This type of paper will look nice and give you sharp clean edges.
Have an Array of Embellishments Ready
Even if you are the worst gift wrapper in the world, adding the right embellishment to the outside of the package will step it up a notch and make your packages look professional. Embellishments can be as simple as a ribbon, clippings of greenery or holly, or even some tiny inexpensive ornaments.


